Easy Prep Winter Craft Ideas for Speech Therapy
As winter break approaches, I ask myself a simple question:
With that being said, I have some really easy/no prep ideas for you for speech!
Let's jump in:
Cotton Ball Snow
EVERY single child that walks into my room and sees cotton balls on my table can't help but beg to use them. I'm not kidding lol my preschoolers all the way up to my fifth graders. What is it about these things?! Anyway, here are some fun/easy ideas to use cotton balls for the season:
Idea 1: Have the students draw a winter scene, and glue cotton balls to create the snow (i.e. snow on the ground, snow on the roof of houses, snow in the sky, snow on a gingerbread house, etc.)
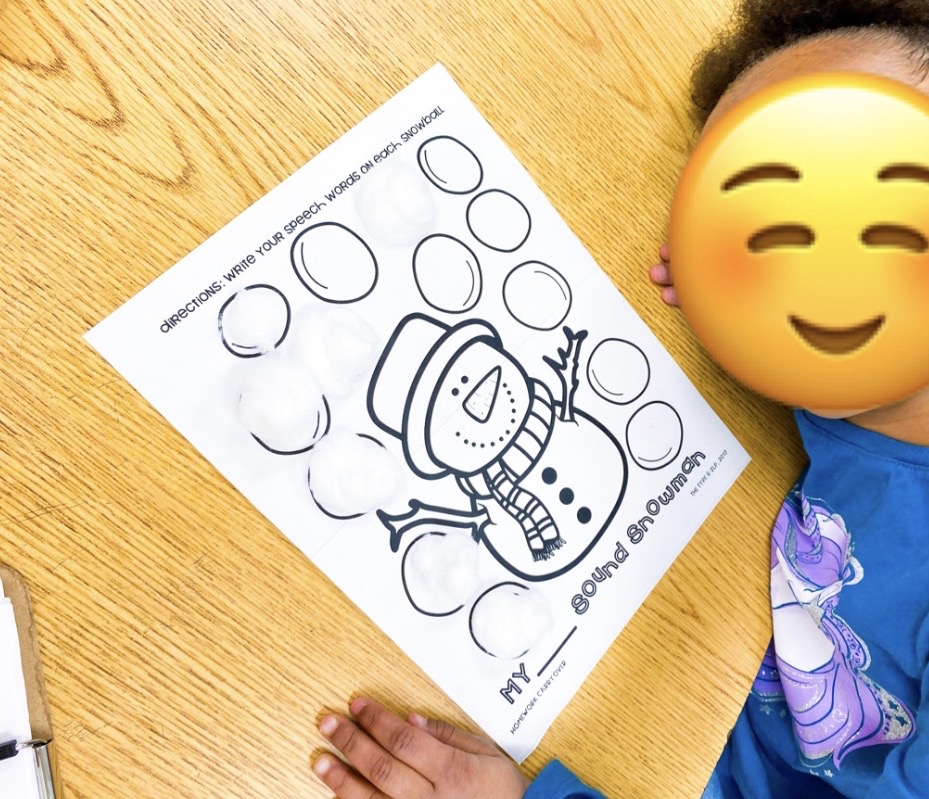
Idea 2: Have the students create a large snowman! Draw 3 snowballs (like a snowman) on a piece of card stock. Fill in the snowballs with cotton balls to create the snowman. Cut out shapes from card stock to make the carrot nose (triangle), stick hands (thin strips), and a scarf (rectangles).
Idea 3: Fill a sensory bin with a bunch of cotton balls! Instant snowy sensory bin. Throw in some mini erasers, buttons, ornaments, wrapping paper pieces, ribbons... anything you've got!
If you want to create the falling snow in the picture above, grab my low prep comprehensive unit for speech! It includes everything you need for some really low/no prep therapy for your whole elementary caseload.
How I target goals with this activity: I like to use the cotton ball craft activities with ANY goal. The student has to "earn" a cotton ball (I actually rip mine in half to make them last longer) after the produce a word, sound, antonym, sentence, answer a question.... literally any goal you're working on!
Easy Shapes Christmas Tree
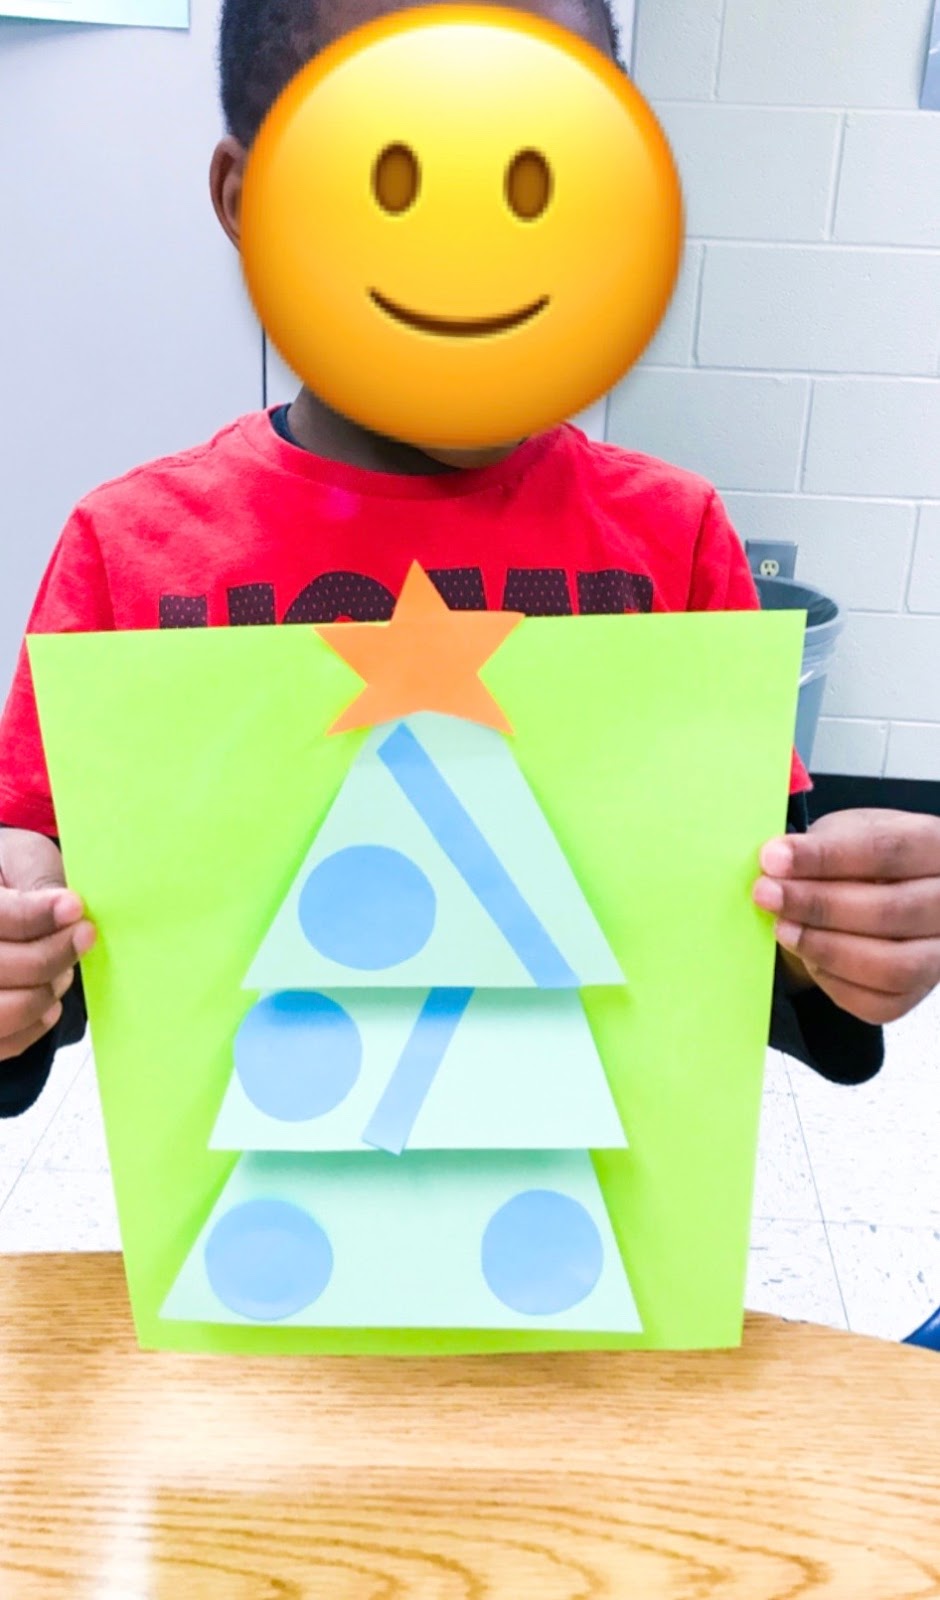
This one is SO easy but also really beautiful (especially because everyone's will look unique! Great for bulletin boards!). I prepped it ten minutes before my group arrived. I suggest having one finished before students arrive so that they have a model. My kids tend to do much better when they can see the final product!
Here's how to make it:
1: Grab a bunch of different colored card stock.
2: Cut 3 triangles from the card stock that is close in size (I made the top one smaller, and the other two slightly bigger than the last. Since you're making it 3D, they don't need to be perfect). I made the triangles all different colors to work on requesting.
3: Take some various colors and cut out some different sized circles for the ornaments. If you're Type A, you can trace the bottom of a cup to make them perfect circles. I just eye-balled it!
4: Cut some strips of paper in various colors to serve as the garland. Again, I eye balled this when I measured it. I just measured it based on the size of the triangles!
5: Cut out some various shapes to use as a topper. I like using different shapes because my preschoolers and kinders are practicing naming/identifying. I cut out stars, triangles, ovals, and squares.
6: Start from the BOTTOM and glue on the first triangle. Layer the remainder two triangles on next. Then, add your ornaments and garland! Students can choose any colors, and you can make ornaments different sizes so that they work on requesting and increasing MLU.
7: Place your hand on the tip of each triangle, and fold each triangle upwards. The crease will be hidden by the above triangle or topper, and this will really make your project pop! (literally)
BONUS TIP- When you're done, use these trees as a Christmas scene and "decorate" your trees with mini erasers for some extra practice! Give directions such as "put the reindeer on the biggest ornament" or "put the Santa hat under the star" or "put the candy cane under the tree." So much expressive and receptive practice! You could also add square and rectangle "presents" (cut out from card stock) "under" the tree, and decorate them! This activity will now last you an entire 30 minutes; you can thank me later.
How I target goals with this activity: Again, I like to use these types of craft activities with ANY goal. The student has to "earn" the pieces to create their masterpiece after they complete a specific task (I even did this while we read a story, and they earned a piece of the tree after every question. This got them REALLY tuned into the story because they wanted to be ready for each question!).
I also like to just work simply on requesting for my preschoolers and autism students. I also always pull out my visual sentence and describing strips with this type of activity because these strips have TONS of visual supports, and it really helps expand those utterances.
I hope you find these activities fun and useful! I am ALL about low to no prep all year long, but ESPECIALLY around the time of winter break when the snuggle is real (see what I did there??)
Happy Speech-ing!!